Using Apple Photos Editing Tools
Using Apple Photos Editing Tools
Adding a Signature to a Document

In these days of working at home you may find yourself needing to sign a document. You might be refinancing your home at the low interest rates or just getting a loan to get ends to meet in this crisis. You could print out the document and then sign it and then scan it and send it back, but there are some better ways.
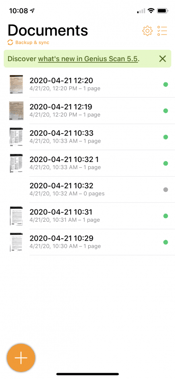
But before we get into those electronic signatures, I do want to give a shout out to Genius Scan It is a great little app that you can download which uses your iPhone's camera as a scanner and creates a PDF document from that scan which you can email directly from that app. It is best used on a contrasting background and you can quickly scan a document with one click and then save or share that document. Highly recommended.
With MacOS you can create a signature and access it from Preview or within Mail. To create a signature open Preview and surf over to the Tools menu and then Annotate and at the bottom of that menu is Signatures. Clicking on that will access your stored signatures and allow you to manage them or create new signatures.
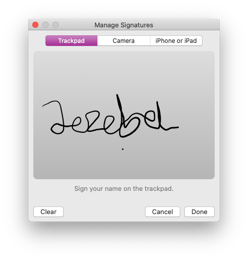
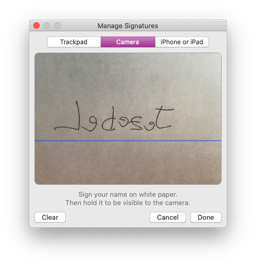
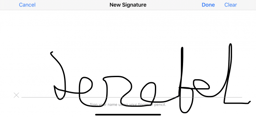
When you click on Create it will give you three options to create your signature. You can sign on your track pad, you can use the camera to capture the signature or you can use your iPhone or iPad to capture your signature. I have horrible writing as you will see so I always use the camera. To use the camera just click on the camera and sign your name as you would normally on a white piece of paper and hold it up to the camera.
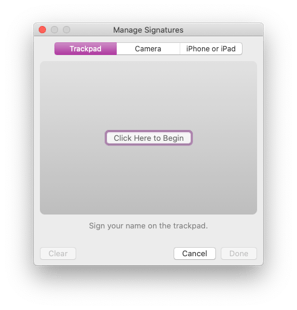
Trackpad looks like this
Camera looks like this
and iPhone like this
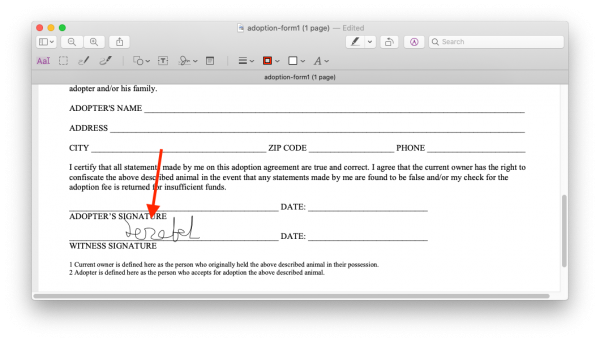
Once you have your signature created it will appear in the Preview -> Tools-> Annotate-> Signature menu or from the tool bar of an open PDF document in Preview. Simply click on the document at the location you wish to sign and choose your signature.
Signing Documents right in Mail App
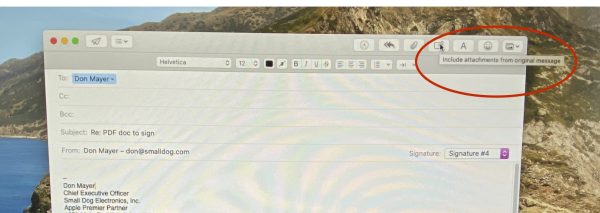
If you get a pdf document that needs a signature in email the process is similar. Click Reply to respond, then click the Include attachments from original message button.
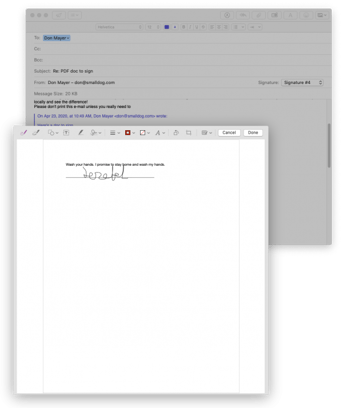
Then hold the mouse over the pdf document and click the dropdown arrow in the right-hand corner. Select Markup In the new window, select the Sign icon at the top, and select the signature you want to add. Move to the right location on the document and resize as necessary, and click Done.
Click send and you are done and have sent your officially signed document. You can store multiple signatures and these signatures can be available. I have signatures stored which are just initials for me and for Grace and now I have my lame Jezebel signature stored, too.
If you have multiple Apple devices signed into the same iCloud account, signatures you register can be synchronized with them as well, so you only have to create one for use on all of them.
Using Apple Photos Editing Tools
iOS 16 - Removing Objects from Photos
Upgrade your Apple TV with the new Siri Remote